






Installing a USB-C Board into an iPod Classic (Gen 5–7)
In this video I show the install process for the USB-C replacement board I sell on Etsy — it swaps the original 30-pin dock connector on an iPod Classic (gen 5–7) for USB-C, while keeping full charge and sync functionality. There’s also a solder point for audio-out, allowing playback to USB accessories (compatibility varies by accessory).
Each board includes:
• PCB board
• Ribbon cable
• 3D printed bezel (black or white — custom colors available on request)
Difficulty: This is a fine-pitch soldering job, not beginner-friendly — done wrong, it can damage your iPod. Don’t want to do it yourself? I offer pre-installed builds and can also solder the board onto an iPod you already own — just reach out through my shop.
Credit: Board design by MaxMac_STN on GitHub. I purchase and hand-assemble every board myself.
???? Grab one here: https://jarjargames.etsy.com/listing/4502114165
If you’re installing your own, don’t skip taping over the ribbon cable — it can short against nearby pins if left exposed.
Questions? Drop a comment below.
DISCLAIMER: This video is for educational purposes only. Attempting this install is done at your own risk — I am not responsible for any damage to your device resulting from a failed or improper install.
#iPodClassic #iPodMod #USBC #RetroTech #RightToRepair #iPodRepair
- Category
- Repair, Fix, Replace

Up Next
-
14:49

How to install a clear 5th gen frontplate on an iPod classic 6/7th Gen
-
04:15
Installing a iPod Video 5th Generation Logic Board
-
10:51
How to install an SD card and 3000mah battery into an iPod Classic 5th gen Video
-
05:28
iPod Video Repair - LCD Display and Logic Board
-
02:59
How to install a iPod Mini 1st Gen Logic Board
-
11:15
iPod RockBox Firmware Install Guide 2020! (Any Classic iPod)
-
05:01
How To Install Rockbox On An iPod Classic TUTORIAL
-
iPod classic 5th gen no audio IC fix - Logic Board Repair Tutorial
-
03:08
iPod Classic Clear Cases Watch B4 You Buy: How to Install, Remove + Useful Mod Tip
-
04:58
How To Install Rockbox On A iPod Classic
-
13:14

El iPod Classic de 2025 In Spanish
-
Why You Should Buy An iPod Classic in 2025
-
02:47
How To Put Music Onto Your Ipod From A CD
-
06:24
iPod Classic 5th Generation Battery & Hard Drive Replacement!
-
13:41

iPod Classic 5th Generation Hard Drive replacement Upgrade iflash.xyz SSD 200GB!
-
05:31
iPod classic hard drive replacement
-
08:22
iPod classic 6th gen hard drive replacement part 2 (check)
-
12:19
iPod Classic Repair Ep. 107: DIY Repair Disaster! Motherboard & Hard Drive Replacement
-
04:47
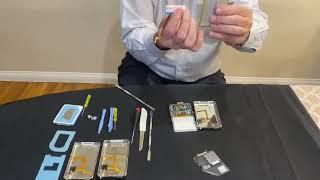
Modifying an iPod Video battery and hard drive to 3000 mAh and 128 GB Flash Drive
-
06:43
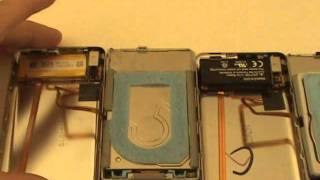
iPod Classic Hard Drive Replacement Tutorial Red X 80gb 120gb 160gb | GadgetMenders.com